


DIY How to Make a Homecoming Spirit Braid Tutorial
Updated: May 31
SPIRIT BRAID
I love this one!! So easy and looks amazing. Perfect to glue trinkets onto!
As this is an easy braid, let's aim to make the tutorial just as straightforward and speedy!
If you'd rather watch a video tutorial, visit the Melz Mumz YouTube channel.
If you find this tutorial useful, please like, share, and subscribe to our Social Media!
Your support helps our small family business. Or buy me a coffee :)
Supplies:
There are two ways to make this braid and both look great. You can use two of the same size ribbon or one size bigger than the other. If you do the one size bigger than the other, then the bigger ribbon would need to be the base and the smaller ribbon the one you weave with. I will give dimentions for both.
36" Braid same size ribbon – 2 Yards continuous of #5 (7/8") Ribbon in 2 colors. Or 2 Yards continuous of #3 (5/8") Ribbon in 2 colors.
36" Braid different size ribbon – 2 Yards continuous of #5 (7/8") Ribbon in one color and 2.5 Yards of continuous #3 (5/8") Ribbon in another color.
18" Braid same size ribbon – 1 Yard continuous of #5 (7/8") Ribbon in 2 colors. Or 1 Yard continuous of #3 (5/8") Ribbon in 2 colors.
18" Braid different size ribbon – 1 Yard continuous of #5 (7/8") Ribbon in one color and 1.25 Yards of continuous #3 (5/8") Ribbon in another color.
Step 1:
Take your base ribbon and fold exactly in half and crease.

Step 2:
Now you will open the ribbon and fold one side down at the half way mark crease you just created. Make sure the side of the ribbon you fold down is flush against that crease.

Then fold the other side down.
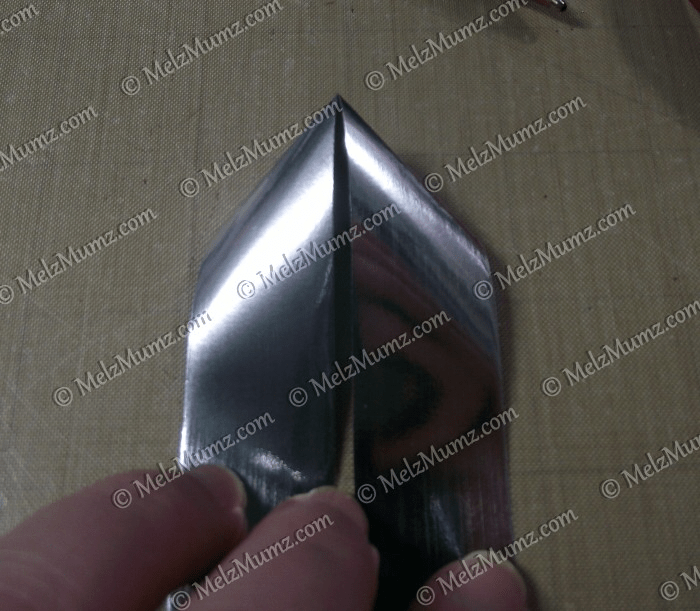
Here is a back view after both sides have been folded down.

Step 3:
Flip back over and place the weaving ribbon going diagonally down to the right at the point of the base ribbon fold and staple.
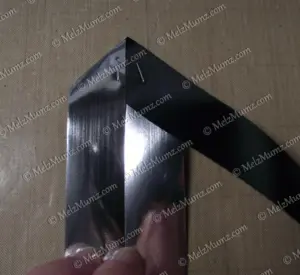
Step 4:
Now tape the end down to help hold braid in place. With this braid, you want to crease your edges very tightly to help hold it in place nicely.
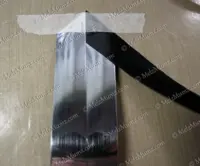
Now start your weave by taking the weaving ribbon and folding UNDER the first base ribbon but OVER the second base ribbon.
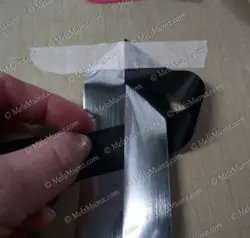
Now crease it tightly and it should look like this:

Step 5:
Now start weaving from the left side by taking the weaving ribbon and folding UNDER the first base ribbon but OVER the second ribbon.

Crease the ribbon once in place and it should look like this:
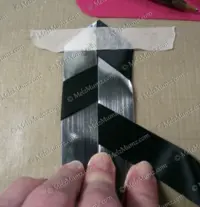
Step 6:
Keep weaving ribbon back and forth until you get to end. Once you get to end put a staple into both sides at the end.

Now you have a spirit braid!

Thank you for looking!
If you found this post helpful please share, like, subscribe and follow our pages (links at top of page) to see future content.
IT REALLY HELPS OUR SMALL FAMILY BUSINESS :-)
As always, Happy Mumming!
Melissa


Comments